

Welcome back to the Power of PushAuth™ blog series! This is the fifth post of the Power of PushAuth™ blog series. The first post of the series was a comprehensive guide to push authentication. The subsequent three posts comprised an end-to-end sample implementation of PushAuth™ in a simple user login flow:
- Web Server tutorial
- iOS Mobile App tutorial
- Android Mobile App tutorial
In this post, we will create a sample website from scratch using Rails and will integrate PushAuth™ APIs into the user login flow. Along the way, we will also provide technical details on how the website interacts with PushAuth™ APIs, which can help readers incorporate PushAuth™ into any existing website. The end result of this tutorial will be similar to the sample web server we deployed in the Web Server tutorial.
Setup
To follow this tutorial, you will need:
This tutorial assumes a basic familiarity with the Rails framework.
Step 1: Make basic Rails app with simple session-based authentication
First, we will create a website with a simple username/password authentication, without incorporating UnifyID PushAuth™. Step 2 will integrate PushAuth™ into the website we create in Step 1.
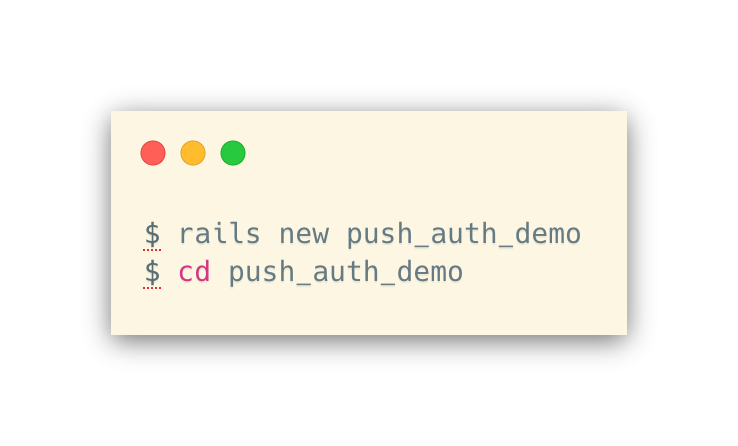
Project Initialization
Let’s add the bcrypt gem to our Gemfile by uncommenting this line in Gemfile:

Now, we will run bundle install to update the Gemfile.lock.
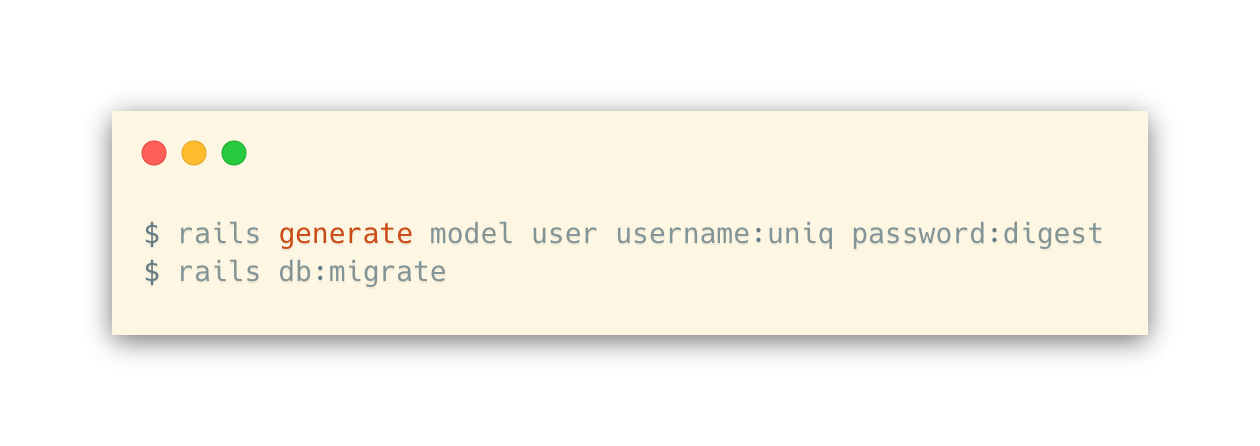
Next, we can add the User model to our database; each User will have a username and a password hash.
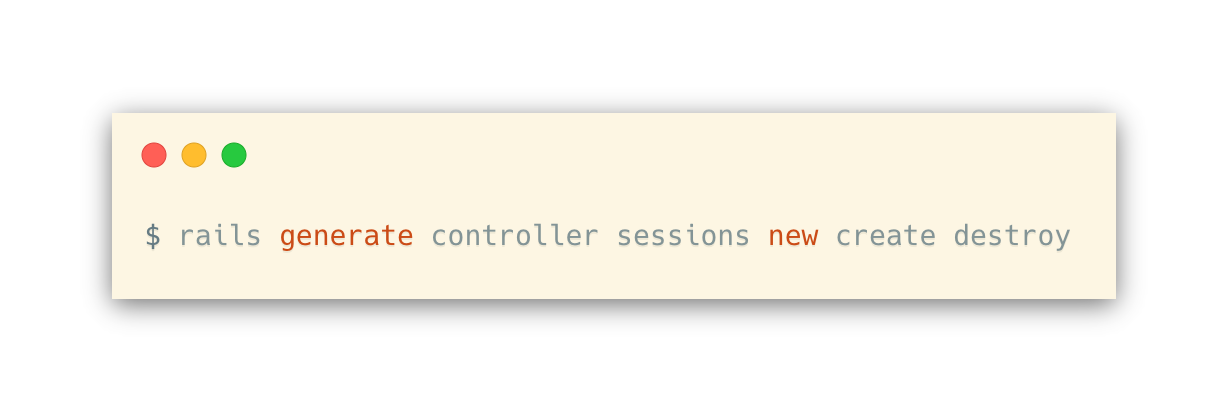
Now, we can generate the controller for handling sessions.
Controller Logic
The basic idea of session-based authentication is pretty simple:
- When a user logs in, session[:user_id] is set to be the unique index of the corresponding user in the database.
- When no one is logged in, session[:user_id] should be unset.
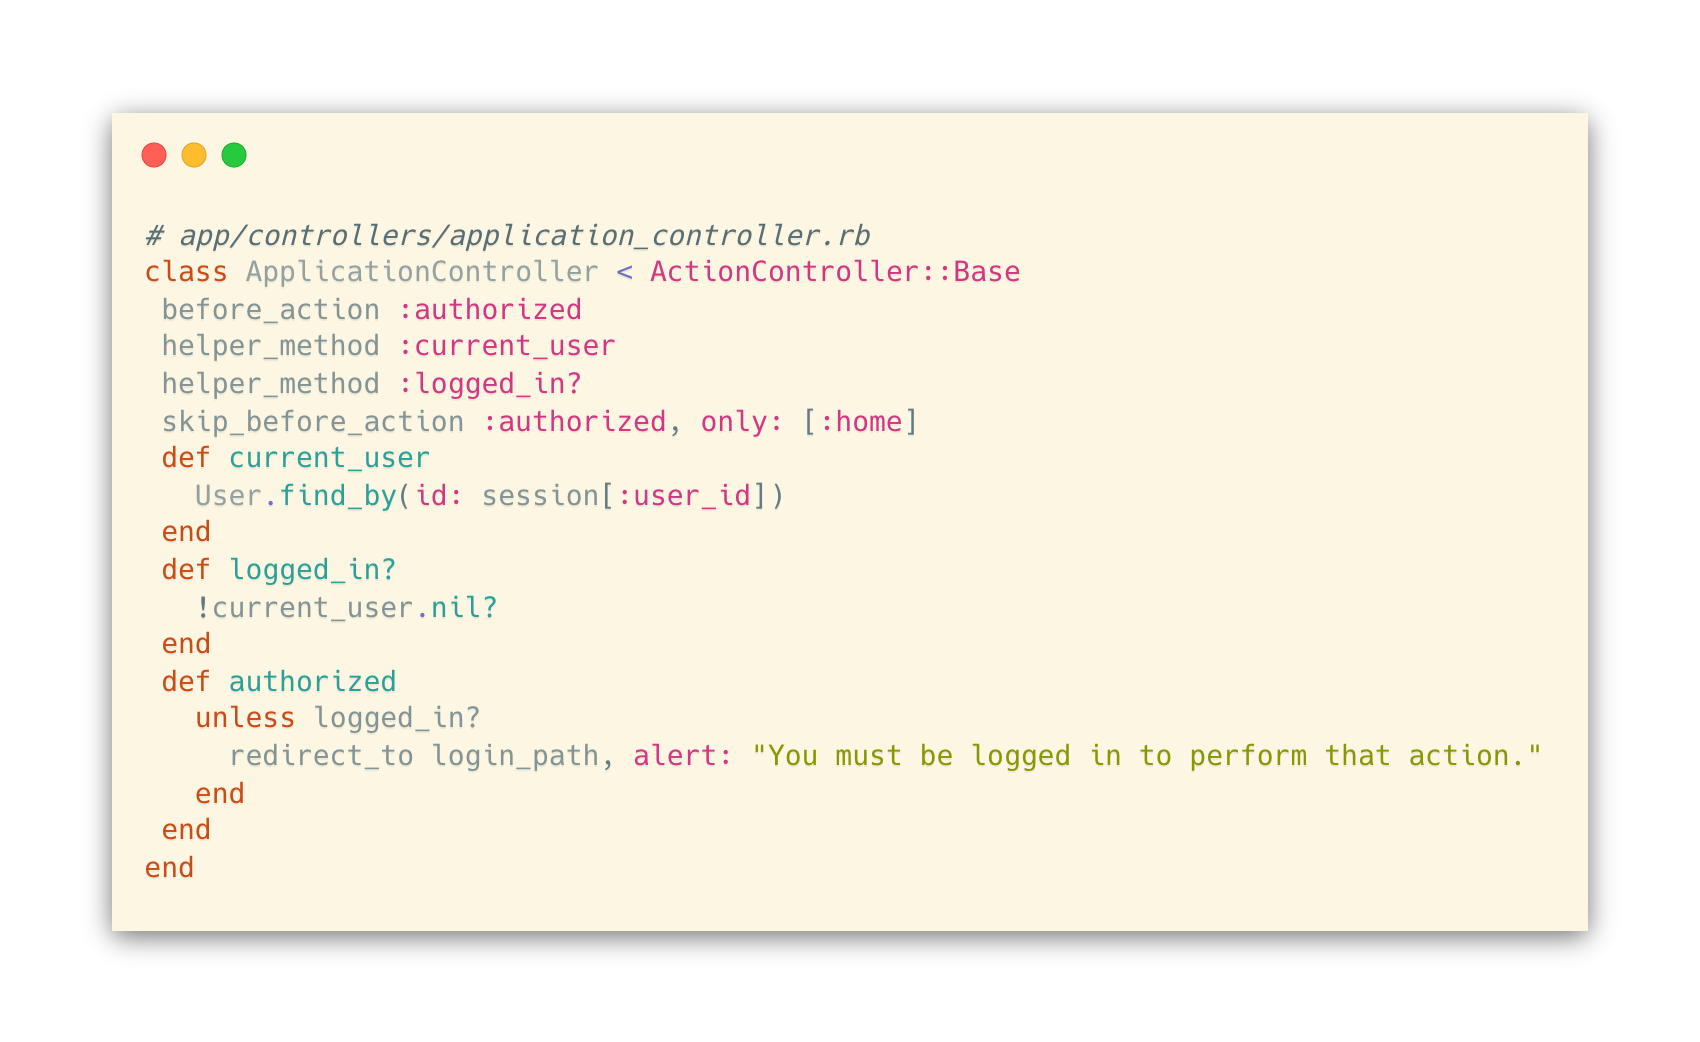
We’ll start with writing the Application controller, where we have a couple of simple page actions:
- GET / (application#home) renders a page that shows links to other pages and actions
- GET /restricted (application#restricted) renders a page that is only accessible when logged in.
A few helper functions will live here as well:
- current_user should either return a User object or nil if there’s no one logged in.
- logged_in? should return whether someone is logged in
- authorized is an action that is called before loading pages that require the user to be logged in.
Now, we’ll handle users logging in or out through the Sessions controller.
- GET /login (sessions#new) action displays a login page unless the user is already logged in
- POST /login (sessions#create) will authenticate the user and set the session.
- DELETE /logout (sessions#destroy) action will clear the user’s session cookie.

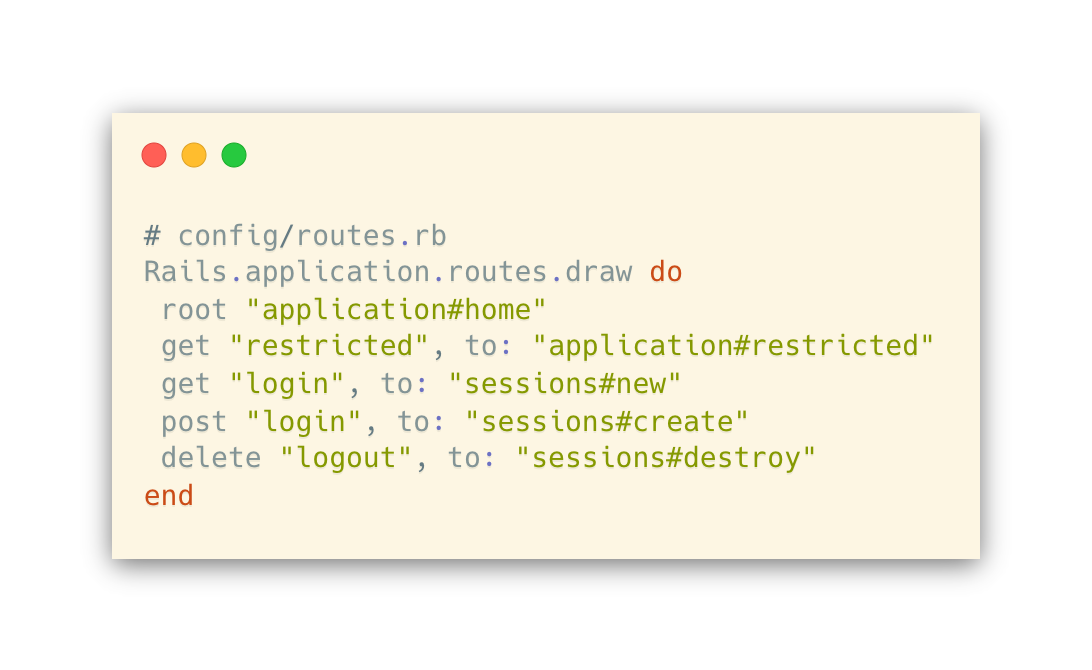
We also need to add routes for these actions.
Views
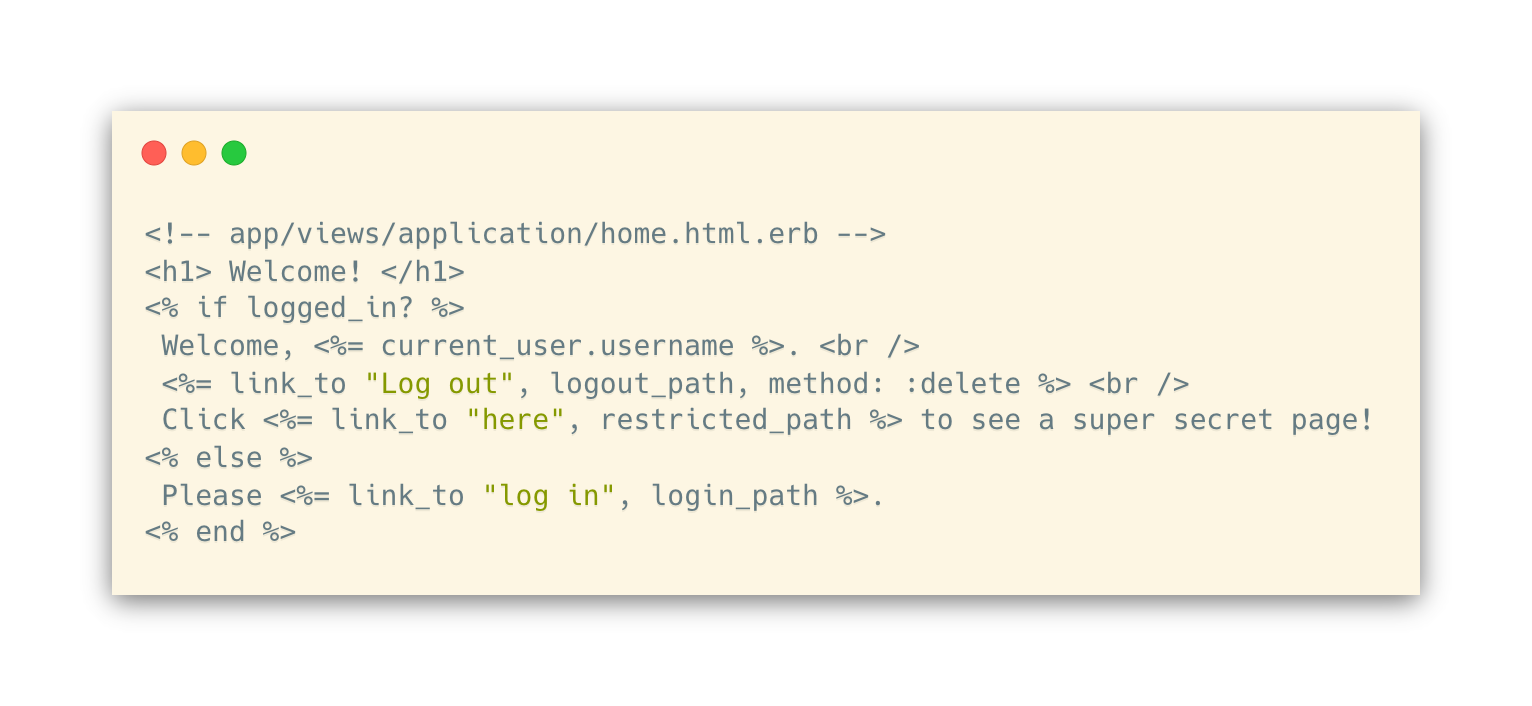
home page where you can click on the link to log in/out:
restricted page to test access control:
Shhh, this page is a secret!
sessions#new renders simple login form:

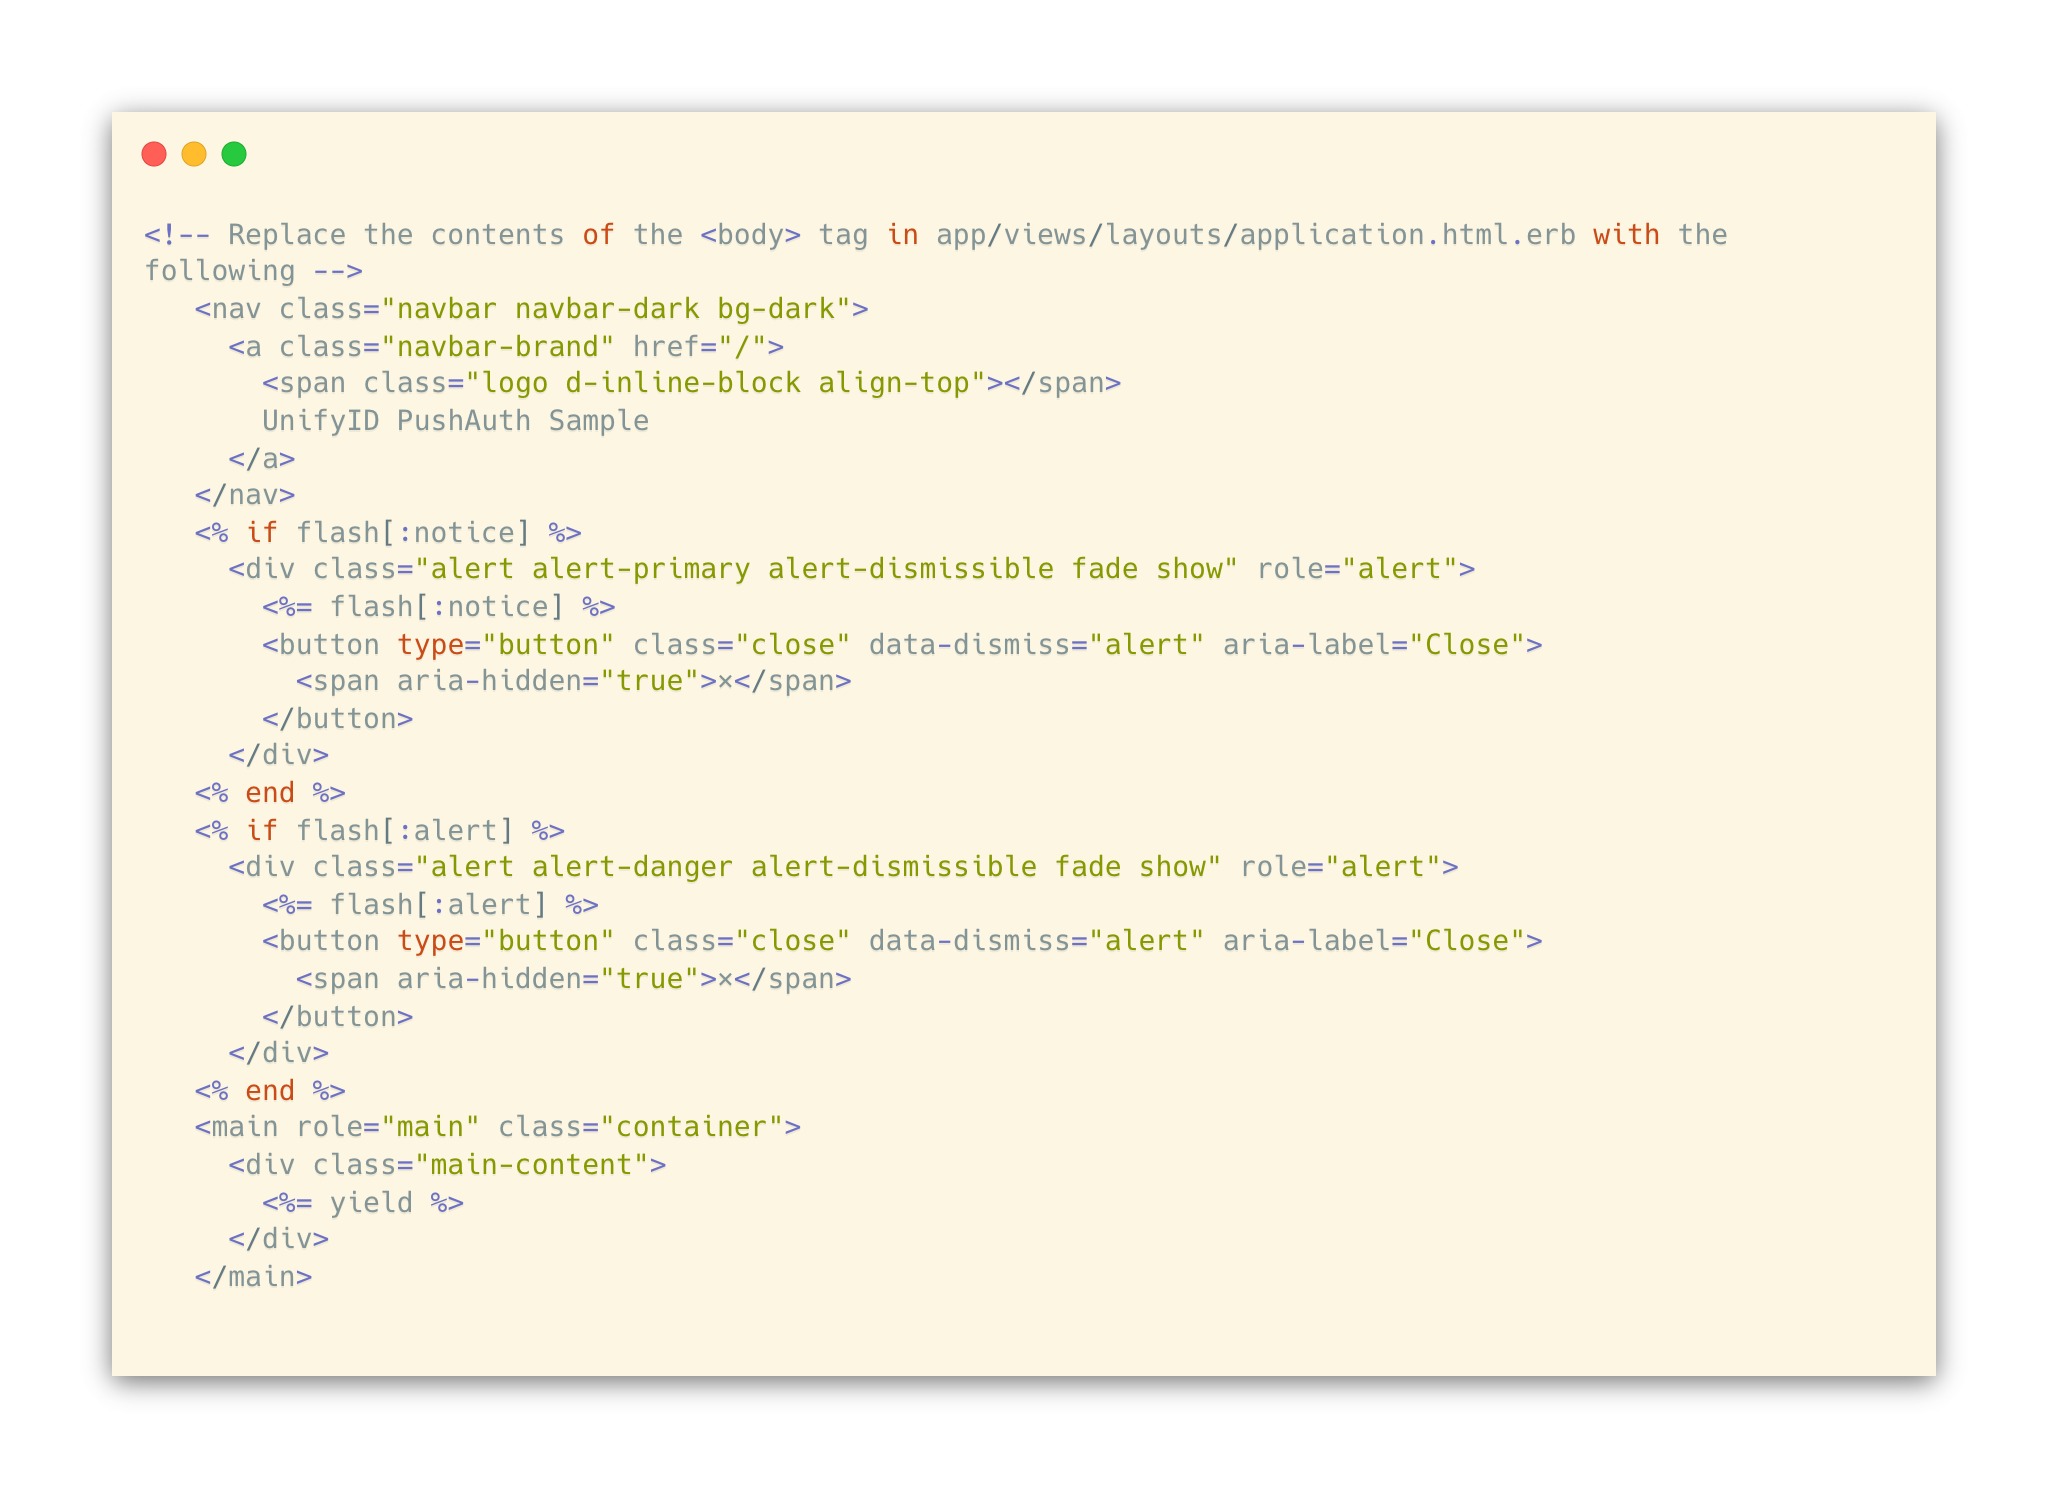
Lastly, we’ll modify the default template to include a navigation bar at the top and flash messages for notice and alert from controllers:
Styling
We can add styling to our website by simply adding bootstrap. The views we created above already use class names that are recognized by bootstrap.
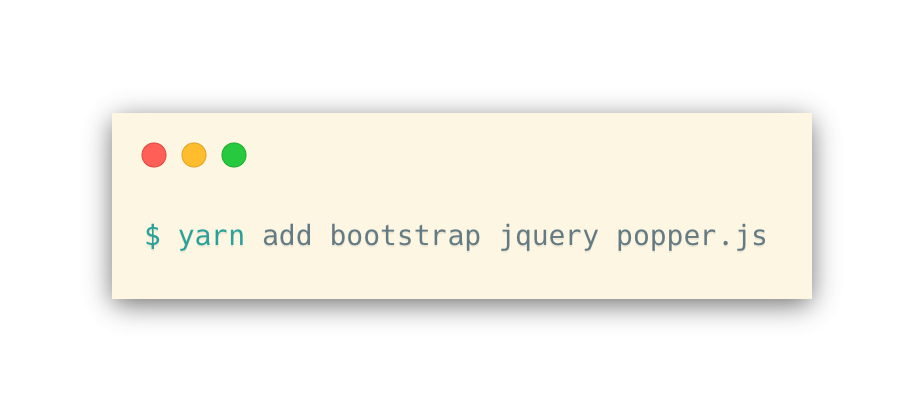
First, add bootstrap and some of its dependencies.
Then, add the following to the end of app/javascript/packs/application.js:
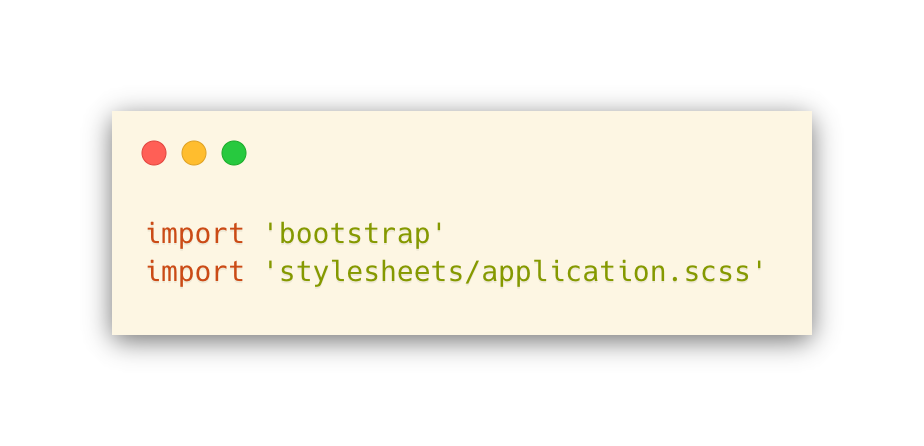
Next, make a file called app/javascript/stylesheets/application.scss and add this:

Optionally, you may add your own custom CSS files as well. See an example in our sample code.
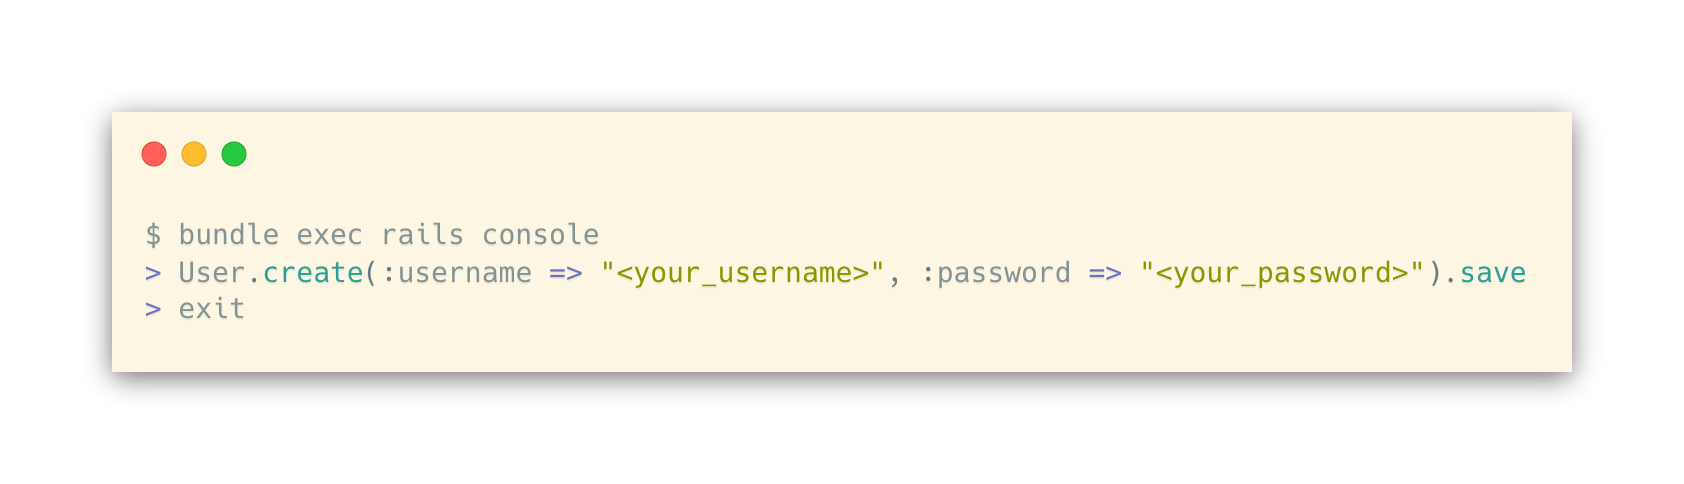
At this point, you should be able to run the rails server and navigate to http://localhost:3000 to interact with the basic authentication server! You can create sample users as follows:
Step 2: Integrate with UnifyID PushAuth™ APIs
Now that we have a website with a simple username/password authentication, let’s incorporate UnifyID PushAuth™ APIs to further enhance security.
Interface to PushAuth™ APIs
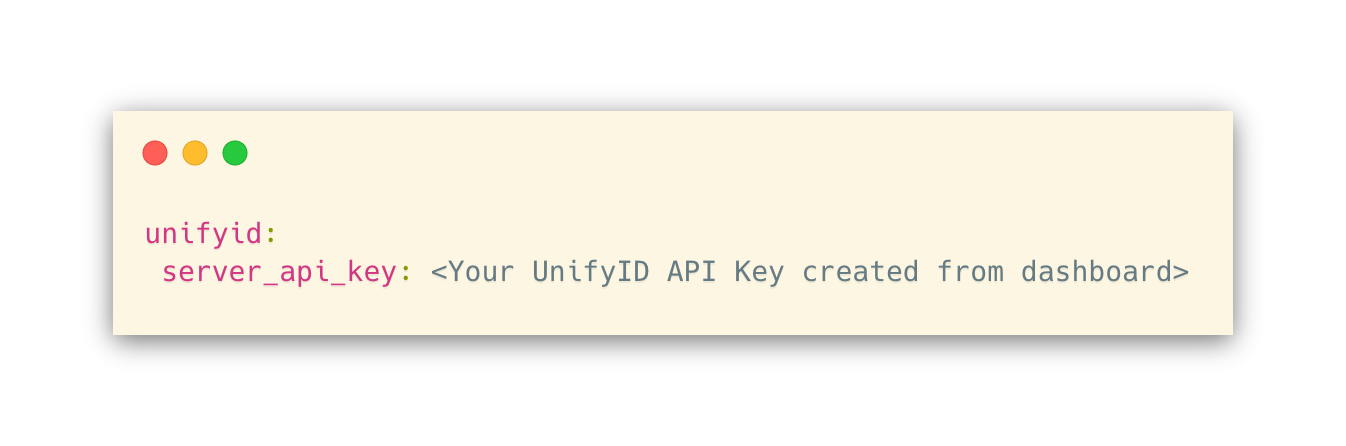
First, let’s tell Rails about your UnifyID API key.
Run rails credentials:edit and add the following
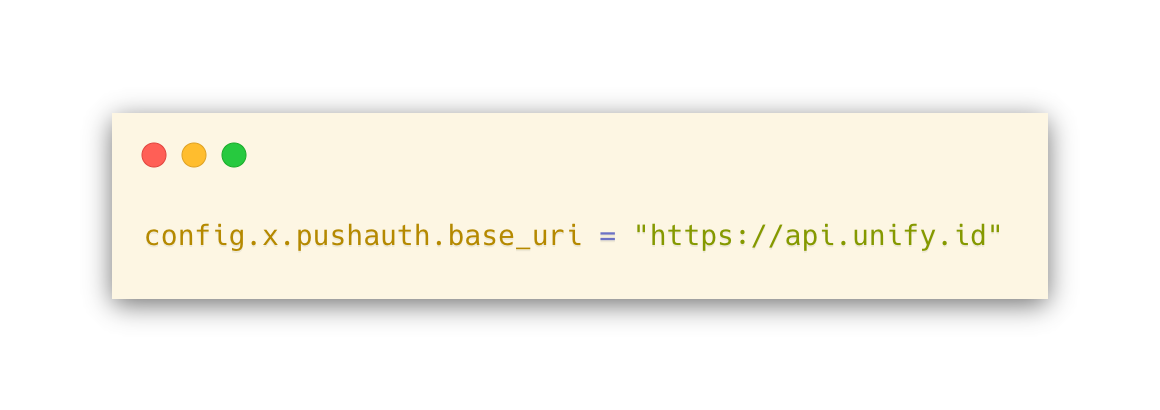
Next, add the following to config/application.rb, after the config.load_defaults line:
Let’s also add the httparty gem to make HTTP/S requests easily. To do this, add the following to your Gemfile and run bundle install:

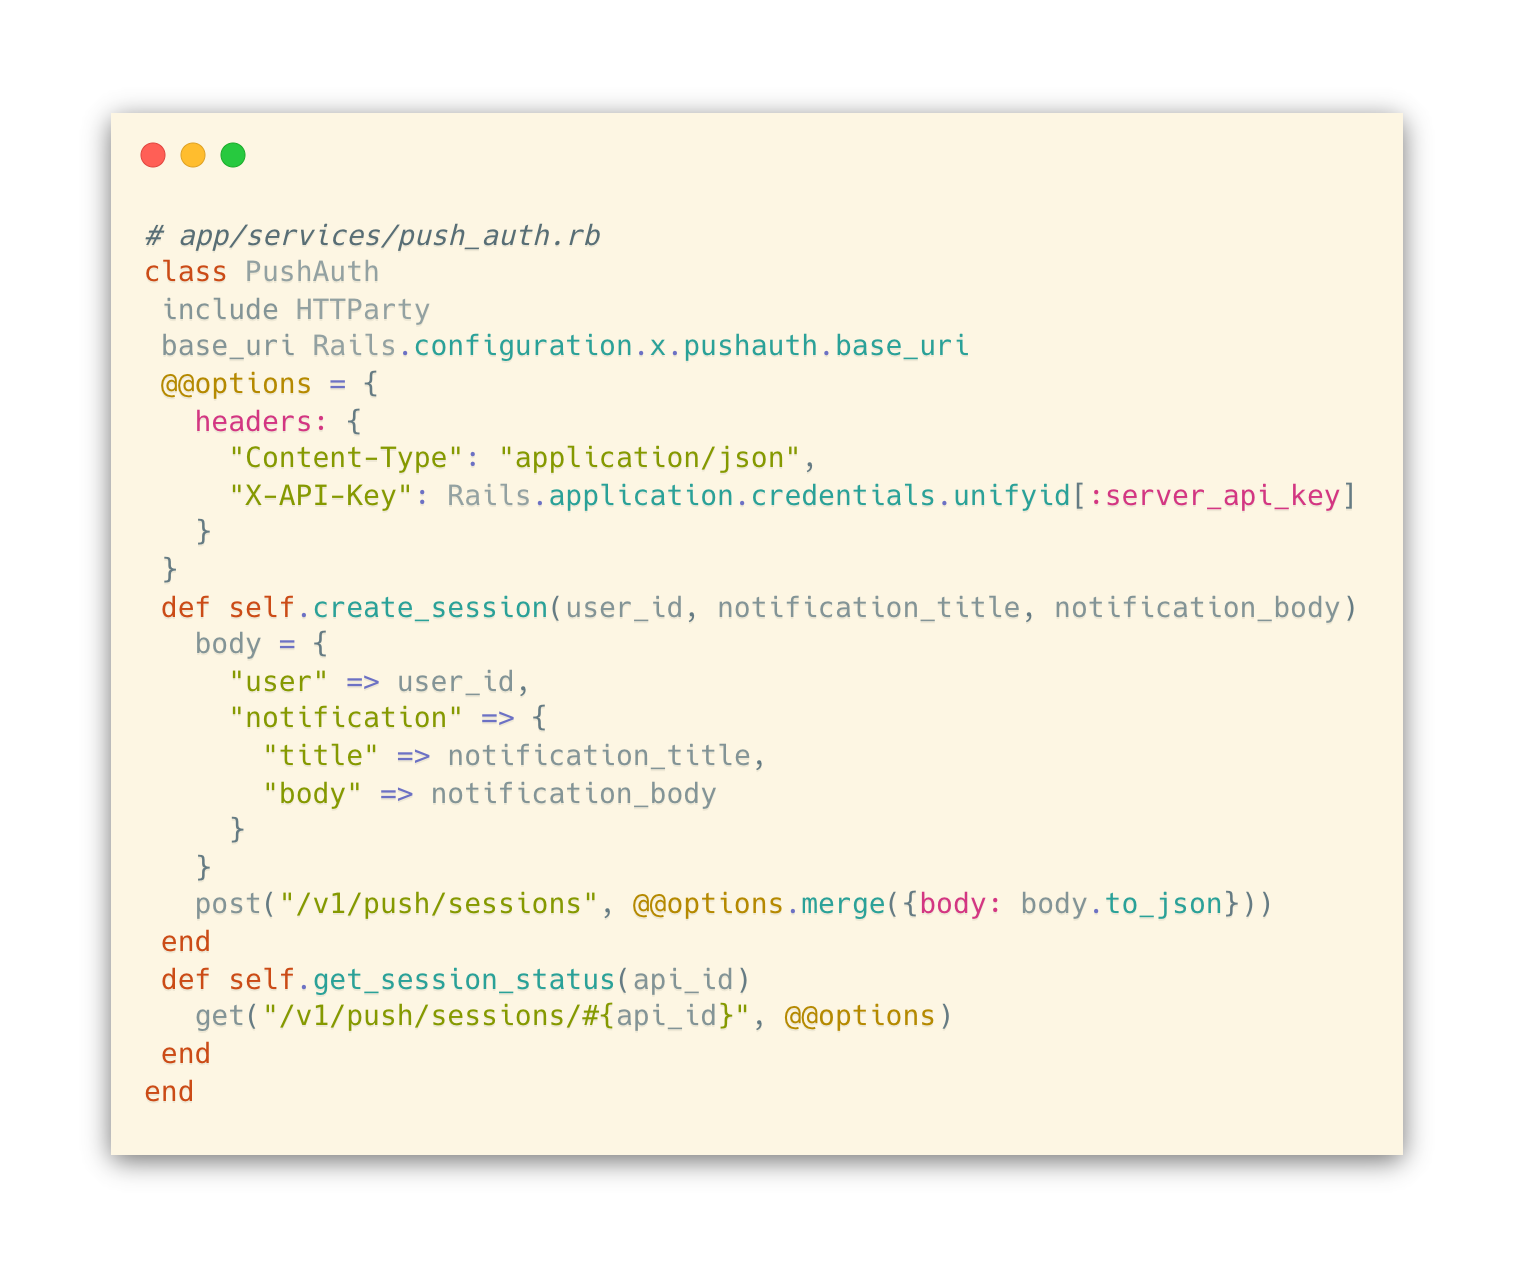
Now, we will make a file called app/services/push_auth.rb, which contains the interface for our Rails app to interact with the PushAuth™ APIs:
- create_session method calls POST /v1/push/sessions to initiate PushAuth™ session (API doc).
- get_session_status method calls GET /v1/push/sessions/{id} to retrieve the status of PushAuth™ session (API doc).
Controller Logic Modification
Now, we will modify the login flow to incorporate PushAuth™ as the second-factor authentication. The new login flow will consist of the following:
- The client submits the username and password via a POST request to /login (sessions#create)
- The controller validates that the user exists and the password matches. If not, it displays an error message.
- Upon successful username/password authentication, the controller creates a PushAuth™ session and redirects to GET /mfa (sessions#init_mfa)
- The Javascript in /mfa page repeatedly queries GET /mfa/check (sessions#check_mfa), which checks the PushAuth™ session status until the session status is no longer pending.
- Upon receiving a non-pending session status, the client submits a request to PATCH /mfa/finalize (sessions#finalize_mfa) that completes the login process.
First, let’s replace the create action in app/controllers/sessions_controller.rb:
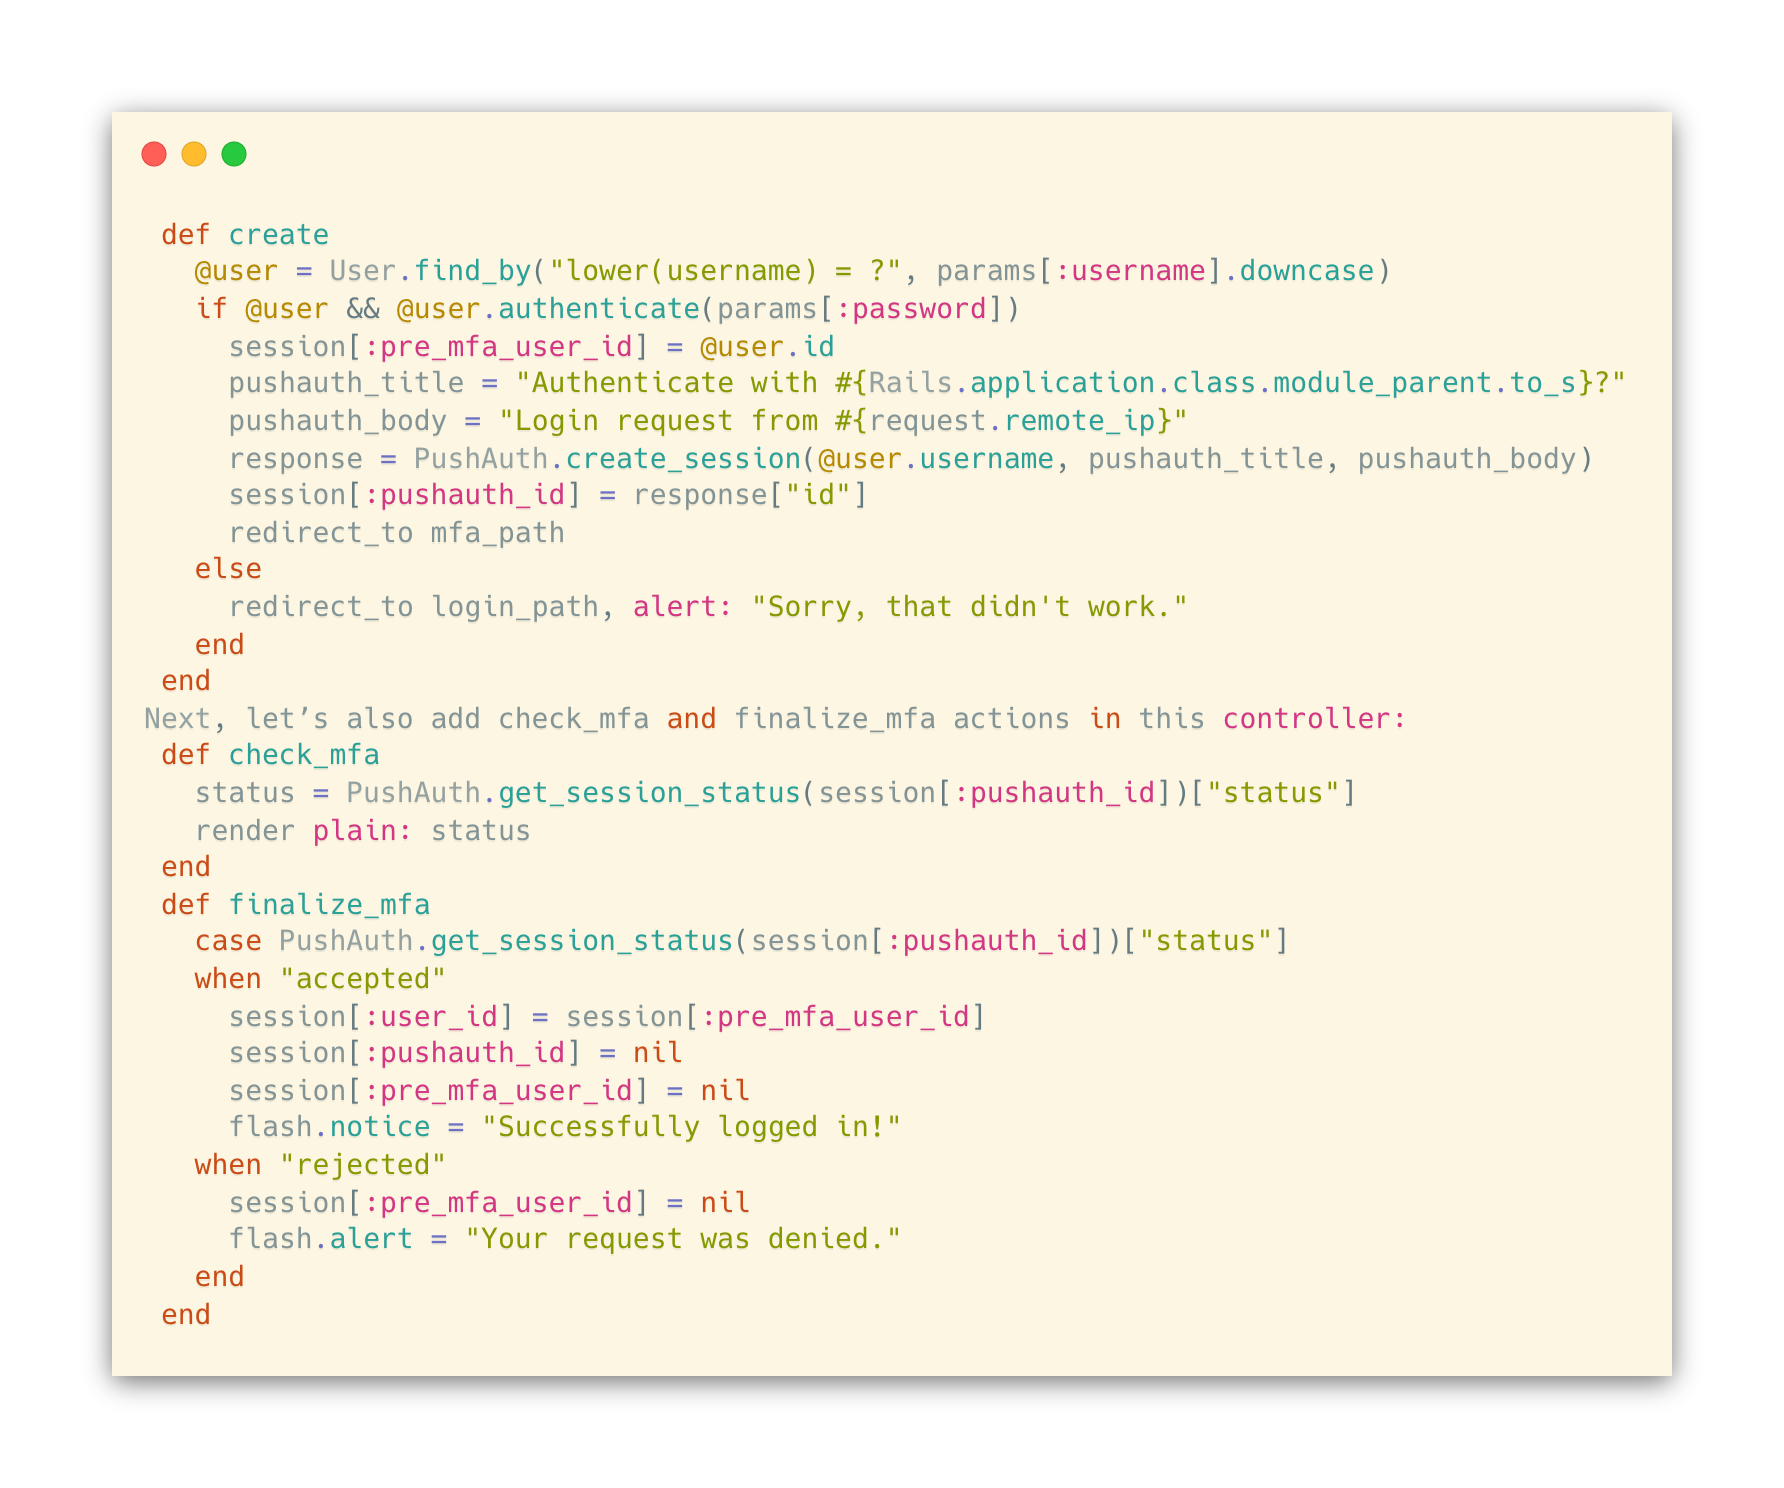
We also want to make sure that only users who completed the password authentication are able to access actions for the PushAuth™ authentication. Thus, within sessions_controller we will add:

Views
Now, we need a page that uses AJAX to determine whether the PushAuth™ request has been completed.
First, let’s add a line in our application template that allows us to add content inside the <head> tag.
Add this to app/views/layouts/application.html.erb, right before the </head> tag:
<%= yield :head %>
Next, let’s add the Javascript code we want to run on the init_mfa page:
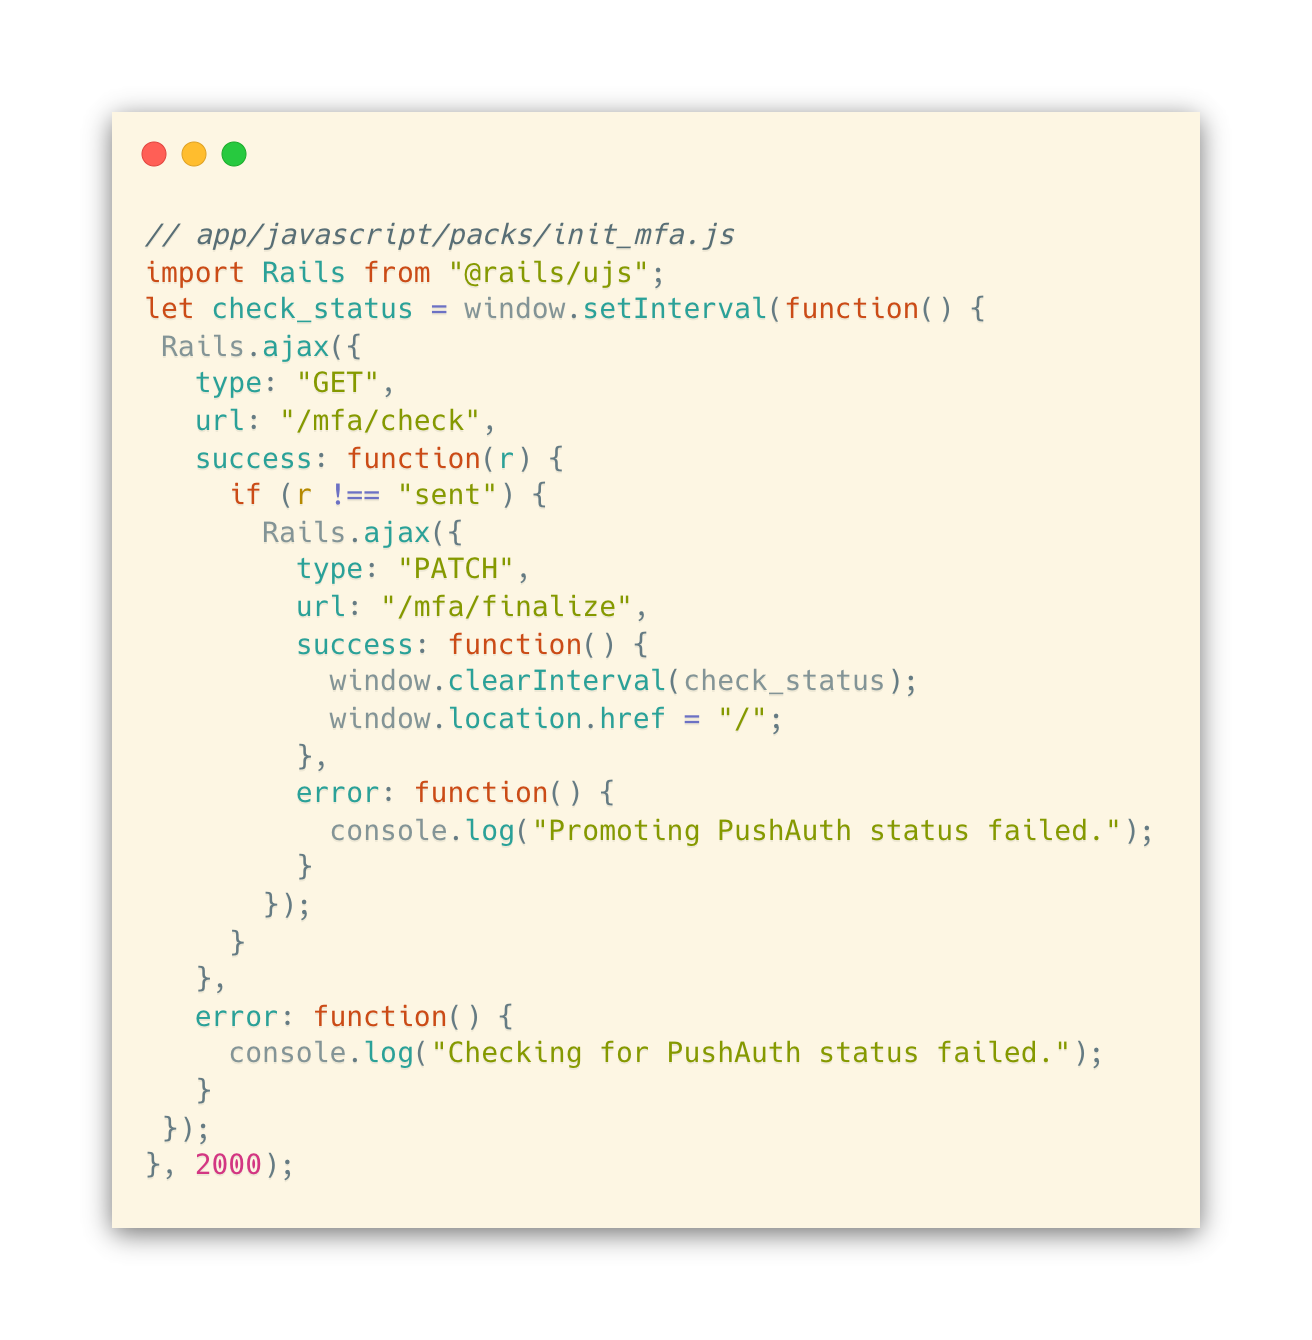
This will poll /mfa/check every 2 seconds until the Rails app reports that the PushAuth™ request has been accepted, rejected, or expired. At this point, the browser will ask the Rails app to complete the login process by submitting a /mfa/finalize request.
Now, let’s add a view file for init_mfa that includes the Javascript above.

Congratulations! We have now integrated UnifyID’s PushAuth™. The final result should function just like the pushauth-sample-server project, which we introduced in our How to Implement PushAuth™: Web Server post. Please reach out to us if you have any questions, comments, or suggestions, and feel free to share this post.
To learn about Prove’s identity solutions and how to accelerate revenue while mitigating fraud, schedule a demo today.

Keep reading

Industry leaders gathered at Prove's Improve Connect summit to discuss balancing frictionless digital experiences with the threat of AI-powered fraud. Experts from companies like Coinbase, Bluevine, and Google shared insights on navigating the challenges and opportunities of emerging technologies.

Digital identity theft is the new frontier of crime, where criminals steal our online "keys" to unlock financial accounts, social media, and even medical records, causing widespread damage and eroding trust in the digital world. Companies inadvertently contribute to this problem by failing to adequately protect user data with secure software development practices.

As organizations in the UK prioritize business growth through online transactions, establishing trust & safety with users is rapidly becoming the critical element that offers a competitive advantage.


