

Welcome back to the Power of PushAuth™ blog series! The first post provided a comprehensive guide to push authentication—check it out here if you missed it. The next three posts are tutorials offering an end-to-end implementation of PushAuth™ in a simple user login flow and will be broken down as follows:
- Web Server tutorial (this post)
- iOS Mobile App tutorial
- Android Mobile App tutorial
The first tutorial (this post) covers a Ruby on Rails backend that provides a basic user login authentication flow with PushAuth integrated. The second and third tutorials will be instructions on how to run sample iOS and Android apps, respectively. These will be the apps that receive and respond to push notifications initiated by the login process.
By the end of these three tutorials, you will have a website where a registered user can log in with their username and password, receive a push notification on their phone, accept the login request via the push notification, and subsequently be logged in on the website. This flow is shown in the video below.
This is a very simplified version of a real-world application and login flow. You might remember some of the security issues that can be present with push authentication from the previous post, such as trusted device registration, fallback resources, or access revocation. This tutorial does not include solutions for those or user sign-up. Future posts in the series will provide extensions of this simple flow to tackle some of those issues.
Alright, let’s get started!
Setup
To follow this tutorial, you will need:
Step 1: UnifyID Account, Project, and Keys
A UnifyID project will grant you access to UnifyID’s services. In order to create a project, you’ll need to first create a UnifyID account. Once you have an account and project, go to the Developer Dashboard to create an API key and SDK key. Make sure to copy the API key value somewhere safe—you won’t be able to access it later.
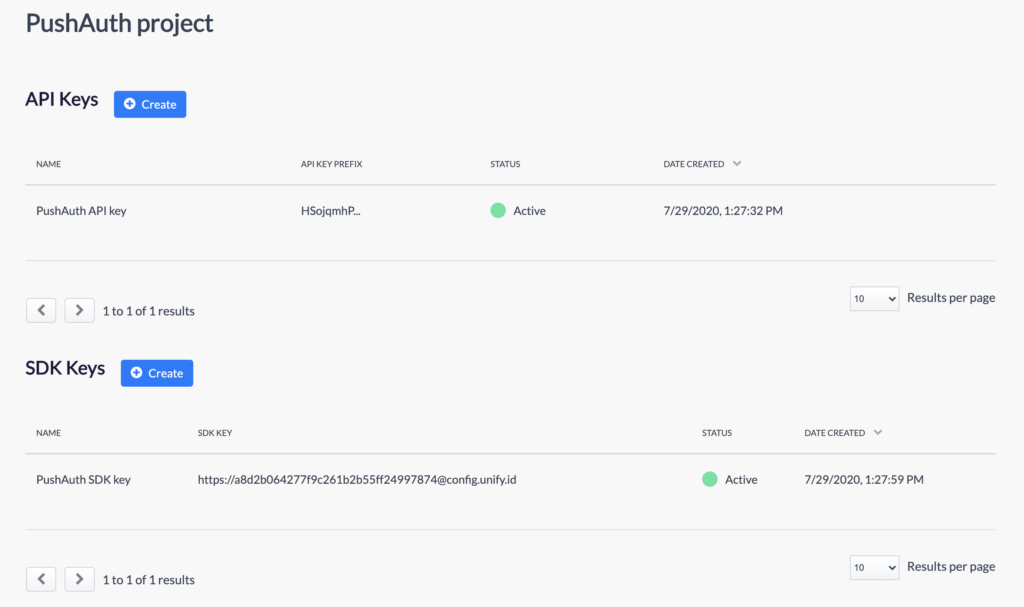
This tutorial uses PushAuth project as the UnifyID project name. You can see the configured API and SDK keys on the dashboard view above.
Step 2: Cloning the Project and Installing Dependencies
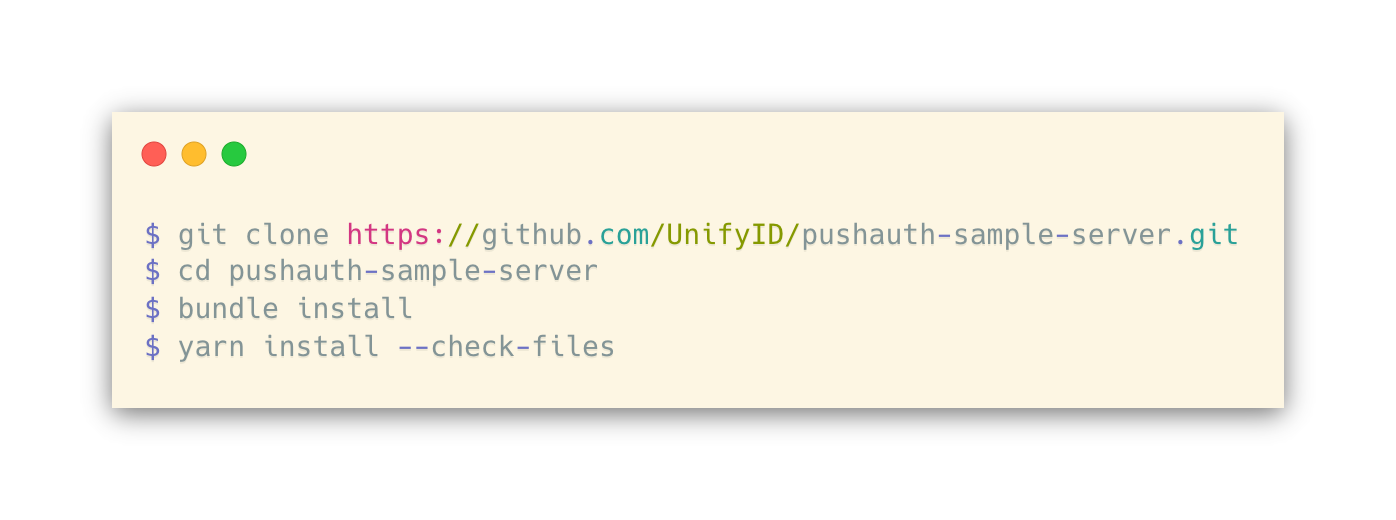
The pushauth-sample-server GitHub repository contains the code for this project. Clone the repository, navigate into it, install the project dependencies that are listed in the Gemfile, and ensure your Yarn packages are up-to-date:
Feel free to poke around the code if you’d like to get a better understanding of what’s going on under the hood. This tutorial won’t go into those details, but a future post in this series will.
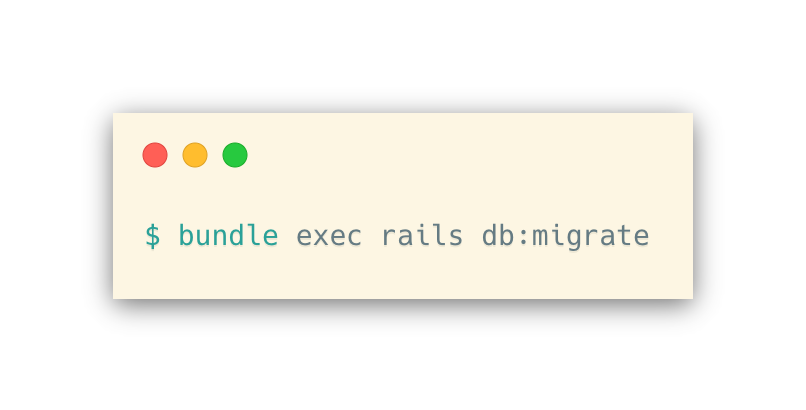
Step 3: DB Setup and Running the Server
Now, initialize the database:
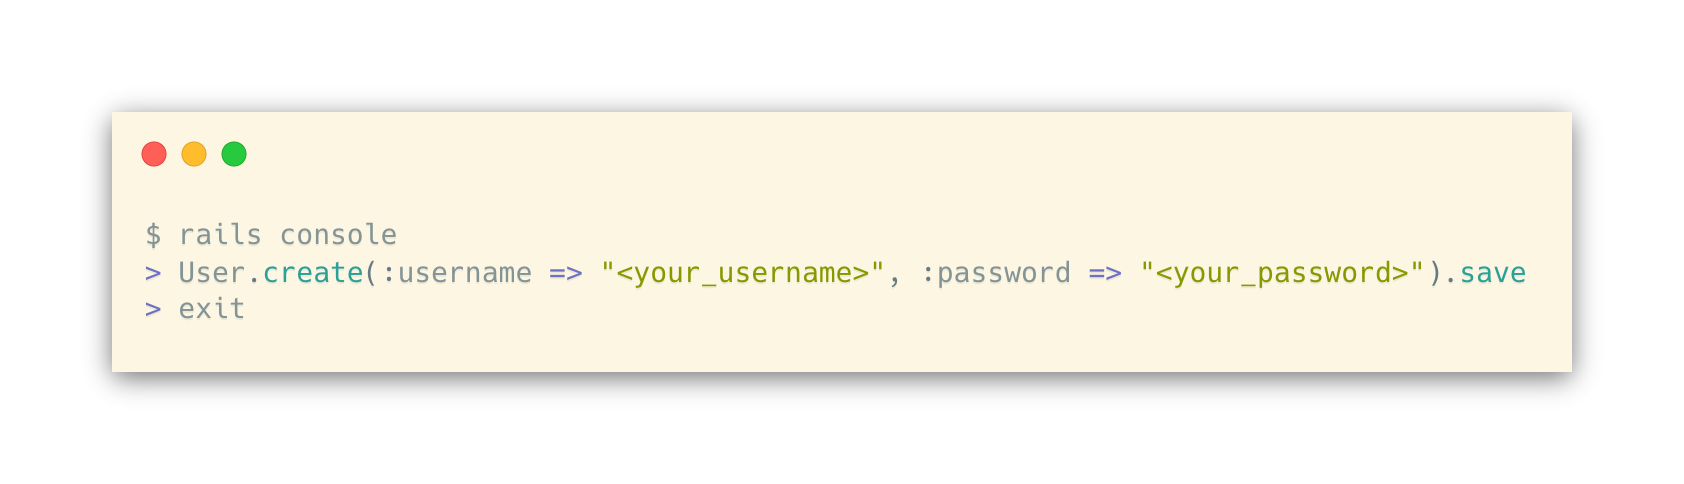
Once the database has been initialized you can create users. To create a user, do the following (replacing <your_username> and <your_password> with the values you intend to use for username and password):
Step 4: Server API Key Storage
This step requires the server API key value you copied in Step 1.

The above command will open the credentials file in vim. You can replace vim with the name of whichever executable you are most comfortable with (atom, sublime, etc.). This will decrypt and open the credentials file for editing, at which point you should add the following entry:
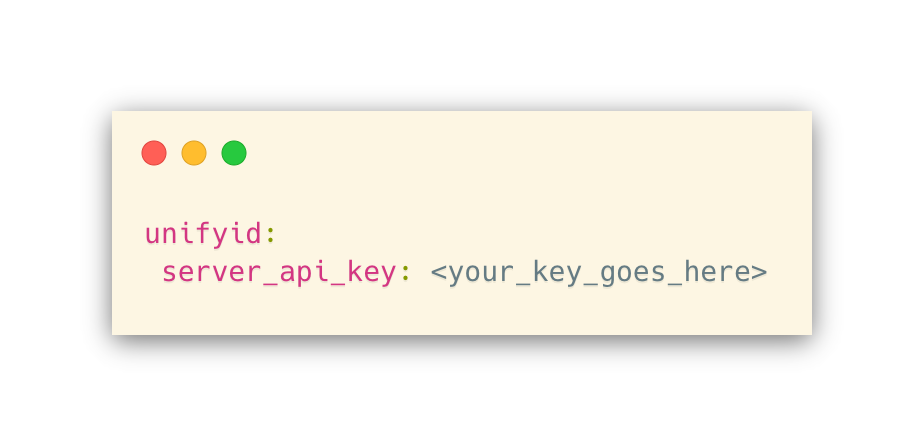
After saving and closing, the credentials file will be re-encrypted, and your server API key value will be stored.
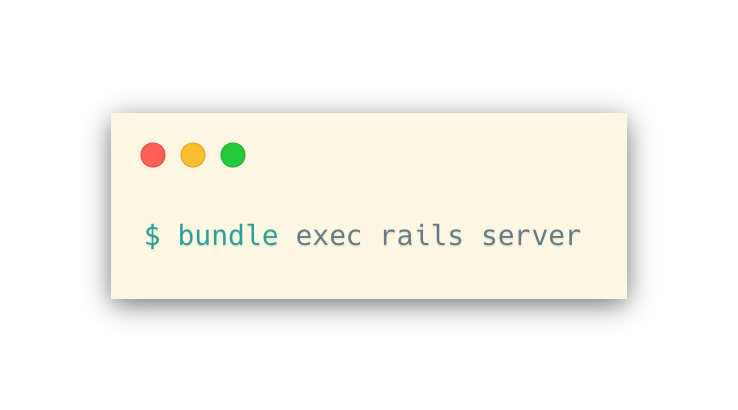
Step 5: Running the Server
Now you are able to run the server:
Finally, connect to the server by opening http://localhost:3000/ in your browser. This will bring you to the landing page, where you can then navigate to the login page and enter your username and password from above in Step 3:
This brings you to the end of the web server tutorial. After entering the username and password on the login page, you can see that the server is polling for the push notification response before allowing or denying access to the website. Without a way to receive or respond to push notifications, you cannot successfully log in. Stay tuned for the next couple posts of this tutorial installment to complete the flow:
Thanks for following along! Please reach out to us if you have any questions, comments, or suggestions, and feel free to share this post.
To learn about Prove’s identity solutions and how to accelerate revenue while mitigating fraud, schedule a demo today.

Keep reading

AI tools can autonomously generate threat detection queries, sift through vast amounts of data, and pinpoint potential threats without manual intervention.

Deepfakes, while not entirely new, have reached a level of sophistication that challenges businesses that are trying to deliver frictionless digital onboarding to their users.

The Federal Trade Commission (FTC) received reports of a significant increase in SIM swap attacks in 2023, and Experian's 2024 scam forecast identified SIM swapping as one of the top threats, emphasizing the need for heightened awareness and preventive measures.


